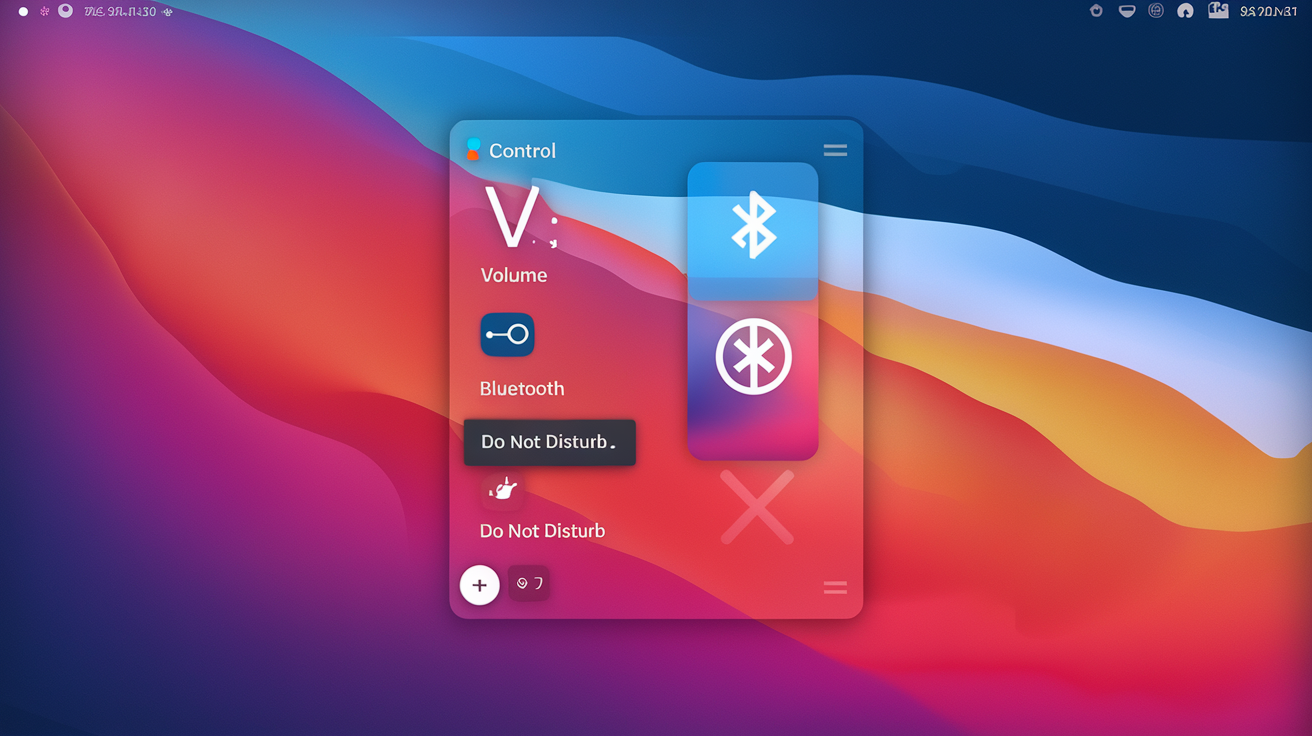
Discovering the Control Center in macOS Tahoe 26
Since its debut in macOS Big Sur, the Control Center has evolved into a streamlined hub for managing key settings like Wi-Fi, volume, and screen brightness. With the arrival of macOS Tahoe 26, this functionality has become even more advanced, mirroring the user-friendly Control Center found on iPhones and iPads. This article will guide you through the steps to personalize your Control Center to suit your individual needs.
Step-by-Step Guide to Customization
1. Accessing the Control Center
To get started, look for the Control Center icon in the menu bar at the top of your macOS Tahoe interface. Clicking this icon will reveal a menu with familiar features, including Wi-Fi, Bluetooth, sound controls, and Focus mode.
2. Entering Customization Mode
Once you have the Control Center open, you can customize which settings are visible. Simply click on the Edit Controls button to start adjusting your options and tailoring them to match your preferences.
3. Exploring Customizable Controls
Now, you’ll see a full list of available controls. To streamline your search, consider using the sidebar to filter by categories or utilize the Search Controls function to quickly locate specific options you wish to add.
4. Adding New Controls
There are two straightforward ways to add controls to your Control Center. You can click on the desired setting and choose Add to Control Center, or you can drag the item directly into the Control Center, which will remain accessible on the right side of your screen.
5. Pinning Items to the Menu Bar
If you want instant access to particular controls, consider pinning them directly to the menu bar. To do this, click on the item and select Add to Menu Bar, or simply drag and drop it into the menu bar area for easy access.
6. Resizing Your Controls
After adding your preferred items, you can enhance their visibility by resizing them. By control-clicking on an item within the Control Center, you can choose from various size options to determine how prominently you want the control displayed.
7. Removing Unneeded Controls
If you find that you no longer need a specific control, removing it is a breeze. The control won’t be permanently deleted, allowing you to restore it later if needed. To remove an item, control-click it and select Remove from Control Center, or click the “—” symbol while in Edit mode.
8. Rearranging Your Controls
With your desired controls added and sized to your liking, it’s time to organize them. While in Edit mode, you can easily rearrange your controls by dragging and dropping them to create a layout that feels intuitive and user-friendly for your needs.
Conclusion
Personalizing your Control Center in macOS Tahoe 26 not only enhances your user experience but also ensures that your most-used settings are just a click away. Follow these
